04.30.26
What Is an eSIM? How eSIMS Work, How to Use an eSIM
by Valeria Dulava
You need to set up your eSIM on your iPhone and then activate the eSIM with a carrier in order to call, text, and use mobile data.

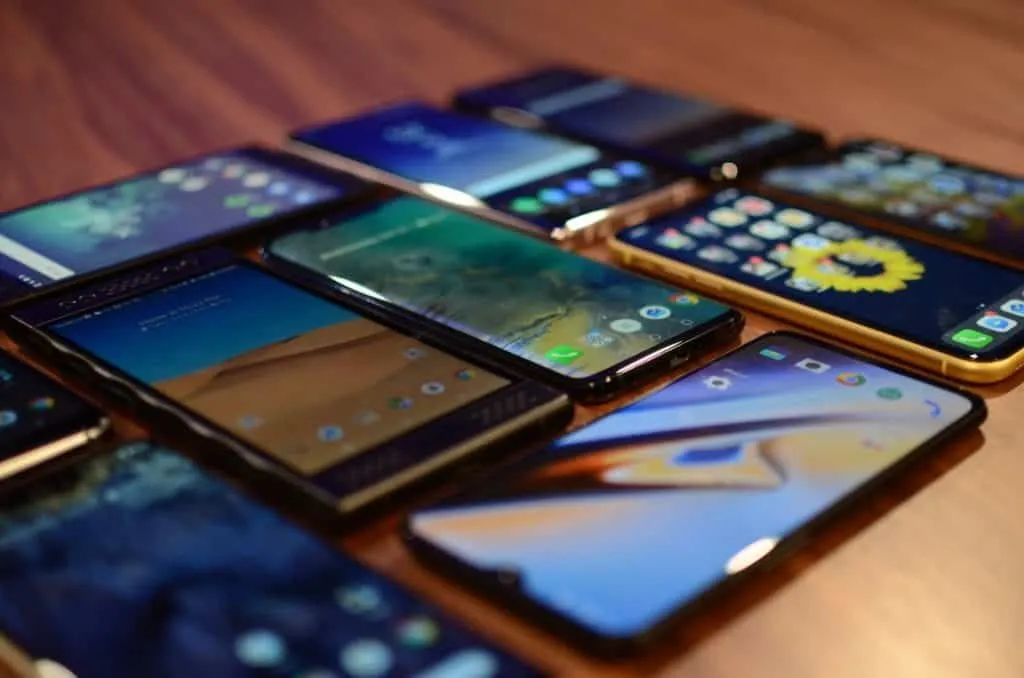
Since the iPhone 14 debuted in September 2022, Apple has exclusively used eSIMs in the phones it sells in the U.S. If you get a new iPhone or a new phone plan, don’t look for a physical SIM card. Instead, you'll have an eSIM, which is a built-in digital version of a physical SIM.
A SIM card is key to using your phone, because it identifies your phone as having access to the cellular network and mobile data. Without a SIM, you wouldn’t be able to call, text, browse the web, stream entertainment, etc. unless you stayed tied down to a Wi-Fi connection.
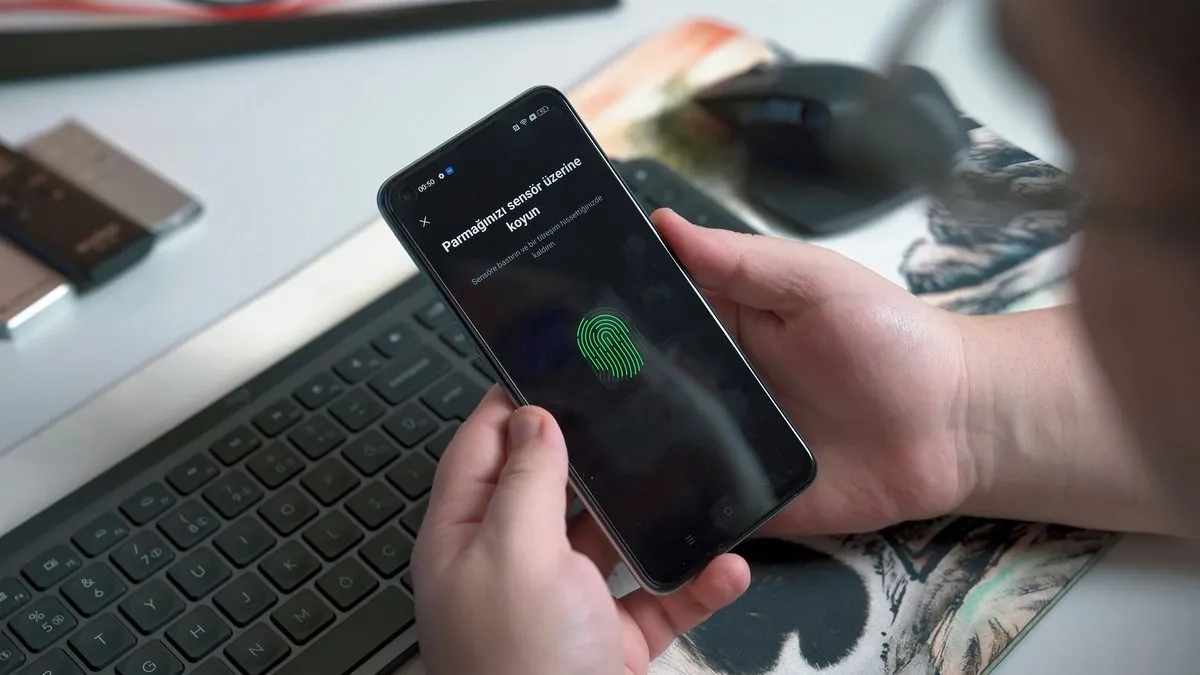
You need to both set up (install the eSIM profile) on your phone and then activate the eSIM profile on a carrier’s network so you can call, text, and use mobile data.
You need to set up and activate an eSIM on your iPhone in a few different situations. Click on the one that applies to you to get step-by-step instructions:
Have you signed up for a new phone plan? The carrier will provide a way to activate an eSIM with the new phone service — either an automated carrier activation process, or a QR code, web link, or app. You can also manually enter details if you choose to.
You’ll need to be on Wi-Fi during the process. Here’s how each approach works:
If you bought an iPhone through your carrier, turn on the phone and follow onscreen prompts during the setup process.
If you have already set up your iPhone, look for a notification saying “Carrier Cellular Plan Ready to Be Installed” on your screen and tap it. In Settings, tap Carrier Cellular Plan Ready to Be Installed, then Continue. Make a call to ensure you have a cell connection, and contact the carrier if not.
Use the camera app on your phone to scan the QR code, then tap on “Cellular Plan Detected” when it pops up. Tap Continue, then Add Cellular Plan. You may need to enter a confirmation code if your carrier provides one.
Your carrier may send a link to your phone instead; simply tap it, then tap Allow when you see Activate New eSIM, then tap Continue.
Some carriers offer an app to manage your service. If so, download the app from the App Store, then follow the instructions to set up your eSIM. The same app may also support transferring your number to a new phone.
Apple offers an eSIM Quick Transfer process to move the SIM and phone number from your previous iPhone to a new one — if your carrier supports it.
Make sure both phones are on iOS 18.4 or later (it’s best to update to the latest iOS before proceeding). Sign into your Apple Account on both phones and make sure Bluetooth is turned on. Keep the two phones close to each other during the process.
To transfer during the set-up process on your new phone: Follow the on-screen instructions.
To transfer after you set up your new phone:
You may see a pop-up on the new phone that says Finish Setting Up Your Carrier’s Cellular Plan. Tap that to be directed to your carrier’s webpage to finish transfer of the eSIM.
With iOS 26, you may be able to transfer an eSIM from an Android to an iPhone 11 or later. Both phones need to be on Wi-Fi and have Bluetooth turned on.
If your Android won’t scan the QR code, try these steps:
Troubleshooting: If these steps fail or aren’t available, you might need to contact your carrier and ask it to do the activation or to give you a QR code.
If the number transfers but you can’t place a call, contact your carrier.
A potentially money-saving way to have cell service while traveling abroad is to buy an international eSIM for your destination. These often cost less than buying international coverage from your carrier or risking roaming charges.
Because iPhone 13 and later models have dual eSIMs, you can easily buy an international eSIM and set it up at home before traveling, then activate the service when you arrive at your destination. (Note: Your phone must be unlocked, and for best functionality take a minute to update it to iOS 26.)
Once you have the travel eSIM plan purchased, follow the vendor’s steps for setup. You may be prompted to choose whether the eSIM is for use at home or abroad, and whether it’s a data-only or voice and data plan. Once you’ve followed the setup steps, you’ll see the new SIM listed and ready for use when you travel.
When you arrive at your destination, follow these steps:
If you’re using iOS 26, your phone will automatically turn off the travel eSIM and revert to your home eSIM when you return home. If you don’t see a notification that it’s done so, or want to verify what SIM you’re using, go to Settings -> Cellular and tap Turn On This Line next to your home eSIM. You can also tap on Delete eSIM to clear away the travel eSIM.
Try these steps if eSIM setup or activation fails:
Try these things — any of them might work, so check whether your carrier shows up in the status bar in the upper right after each one:
If the steps above don’t fix the problem, contact your carrier. Be ready to give them any error messages you saw as well as your phone number, account PIN or password, and your phone’s IMEI or EID number.
Note: You can find the IMEI number in Settings -> General -> About. It’s also on the box your phone arrived in and it also may be on the sales receipt.
Go to Settings > Cellular to see the list of active eSIMs on your phone. You should see the carrier name listed, and the slider next to Turn On This Line should show green for on. Check to see if you have signal bars in the top right corner of your screen.
If the line is turned on but you’re not getting any signal bars, try basic troubleshooting steps like turning the phone off and on again. If you still lack service, contact your carrier.
Deleting an eSIM disconnects your phone from your carrier’s mobile network, so you won’t be able to call, text, or use mobile data until you restore service. Don’t worry, though — deleting the eSIM does not cancel your phone plan.
If you accidentally deleted an eSIM, you will need to contact the carrier and have it give you a replacement eSIM profile. It may be a QR code or activation link. Then follow the steps listed above.
Have questions or comments? Send us a note at [email protected]!